What if your most complex brand photograph could live on a jacket sleeve without losing a single pixel of detail? You’ve likely felt the frustration of watching a vibrant, high-resolution logo turn into a chunky, unrecognizable mess of thread. It’s a common pain point when traditional embroidery hits its limit with small text or intricate gradients. I’m here to tell you that those limitations are a thing of the past. I’ll show you how creating photo realistic patches is now a streamlined reality for high-volume orders using modern sublimation and hybrid techniques.
We’re moving beyond the bulky textures of the past to a place where ink and thread work together for maximum impact. I’ll walk you through preparing files at the 300 DPI standard to ensure your colors match perfectly every time. You’ll learn the difference between dye sublimation and the trending hybrid print-stitch method, which allows for both photo-clarity and tactile dimension. We will also cover the logistics of OEM manufacturing, from Oeko-Tex material standards to hitting those critical 7 to 14 day production windows. By the end of this guide, you’ll have a clear path to transforming your artwork into durable, high-end branding tools.
Principaux enseignements
- I’ll help you choose between the flat, vibrant detail of sublimation patches or the textured, premium feel of a hybrid print-stitch design.
- You’ll learn why the 300 DPI standard is your most important tool when creating photo realistic patches for your brand.
- I’ll show you how to select professional borders and backings that prevent your high-detail patches from looking like simple stickers.
- Discover how I help brands scale from small batches to massive production runs using reliable, consistent OEM manufacturing techniques.
- Learn the technical secrets to preserving intricate photographic gradients that traditional embroidery simply cannot handle.
The Evolution of Photorealistic Patches in 2026
I’ve spent years watching the patch industry shift from simple thread patterns to high-definition digital art. It’s a fascinating change. In the past, we were limited by the physical width of a needle and the thickness of a thread. Today, photorealistic patches use advanced digital printing to achieve a level of detail that was once impossible. I’m seeing more brands move away from 100% embroidery because they need to replicate complex gradients and photographic textures that thread just can’t handle. High-performance fabrics in 2026 are thinner and more technical; your branding needs to be just as sophisticated to keep up.
Why Traditional Embroidery Hits a Wall
Traditional embroidery is great for bold, simple logos, but it has a physical “thread limit.” When you try to replicate a high-resolution photo, the layers of thread create a bulky, heavy patch. This weight is a major problem for modern, lightweight apparel. If your design includes text smaller than 0.25 inches, the thread often overlaps and makes the words unreadable. I’ve seen many beautiful designs lose their soul because the embroidery process forced them to simplify. Brands now demand a retail-ready look that matches their digital presence. This means every shadow, highlight, and fine line must be visible without the bulk.
The Rise of Digital-Textile Fusion
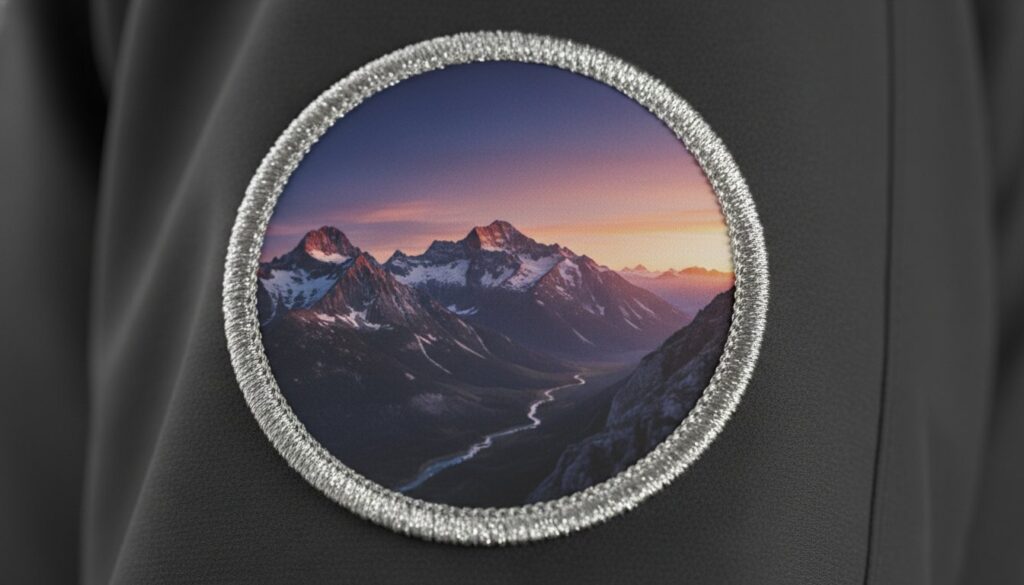
The game changed when digital ink-jet technology met textile manufacturing. By using the Dye-sublimation printing process, we can now gas ink directly into polyester fibers. This creates a permanent, vibrant image that doesn’t crack or peel. It’s the perfect solution for industries like gaming, where character art is incredibly detailed, or the tourism sector, where landscape photos are a key selling point. When you are creating photo realistic patches, this digital-textile fusion is the gold standard. It allows for a “photo-over” style that provides unlimited colors without adding any extra weight or stiffness to the garment.
I always tell my clients that photorealism isn’t just a trend; it’s a response to how we consume media. We live in a world of high-DPI screens and 4K imagery. Your physical branding shouldn’t feel like a step backward. By combining digital precision with durable substrates, you get a patch that looks like a photograph but performs like professional gear. It’s about stripping away the complexity of manufacturing so your creative vision stays intact from the screen to the final product.
Choosing Your Tech: Dye Sublimation vs. Hybrid Print-Stitch
I always tell my clients that the first step in creating photo realistic patches is a simple choice. Do you want flat, razor-sharp detail, or do you need textured depth? In 2026, you aren’t stuck with just one manufacturing path. You have two heavy hitters: Dye Sublimation and the Hybrid Print-Stitch method. Both offer stunning results for high-volume orders, but they serve different branding goals. Understanding the mechanics behind each will save you time and ensure your final product matches your digital mockup.
Dye Sublimation: The Unlimited Color Palette
Sublimation is my go-to recommendation for complex landscapes, human portraits, and intricate gradients. The process involves gassing ink directly into the polyester fibers of the patch substrate. This means the image becomes a permanent part of the fabric itself. It won’t fade, crack, or peel, even after years of heavy use on outdoor gear. Because there are no physical threads creating the image, you have a truly unlimited color palette. You can replicate a sunset with thousands of shifting hues just as easily as a black-and-white photo.
The “flat” aesthetic of sublimation is often a strategic choice. It provides a sleek, low-profile look that integrates perfectly with modern technical apparel. From a budget perspective, sublimation is highly efficient for OEM runs. It typically costs 15% to 25% less than traditional embroidery for the same quantity. Since there is no needlework involved in the center of the design, you also skip the $40 to $100 digitizing fees common with thread-based patches. It is a clean, fast, and high-fidelity solution for brands that value precision above all else.
Hybrid Print-Stitch: The Best of Both Worlds
Sometimes a flat patch feels a bit too much like a sticker. You might want the photographic detail of a print but the premium, tactile feel of thread. This is where the hybrid method shines. We often use écussons tissés as a base for these designs to maintain crisp structural integrity. By combining a high-resolution printed center with 3D embroidery borders or strategic stitched accents, we create a product with incredible perceived value.
This technology allows us to hit a 300 DPI resolution while keeping the classic “patch” texture that customers recognize as high-end. I’ve found that hybrid patches often command a higher retail price point because they look and feel more substantial. They bridge the gap between digital precision and traditional craft. If you want to see how these textures look in person, you can explore our sublimation patches and hybrid options to find your perfect fit. While the setup is slightly more involved than a standard print, the result is a professional, multi-dimensional branding tool that stands out on any garment.
For high-volume OEM production, the choice usually comes down to your brand identity. If you are branding for a tech-focused, minimalist audience, sublimation offers a modern edge. If you are targeting a heritage or luxury market, the hybrid approach provides that extra touch of physical quality. Both methods ensure your artwork is reproduced with total accuracy, leaving the bulky, unreadable thread-work of the past behind.
Mastering the Art of High-Resolution Design Preparation
I’ve learned over the years that your final patch is only as good as the digital file you provide. I can’t stress this enough. If you start with a blurry, low-resolution image, you are going to end up with a blurry patch. When creating photo realistic patches, the technical preparation of your artwork is the most important step in the entire manufacturing process. It’s where we translate your creative vision into a format that a high-speed industrial printer can actually understand.
The 300 DPI rule is the absolute make-or-break factor for success. DPI stands for “dots per inch,” and for photorealism, we need high density to capture every shadow and highlight. A common mistake I see is a brand sending a file that looks great on a smartphone screen but pixelates when we scale it to a 4-inch patch. You need to ensure your file is 300 DPI at the actual physical size you want the patch to be. For the photographic elements, a high-quality raster file like a TIFF or a maximum-quality JPEG is essential. For any text or sharp borders surrounding that photo, I always recommend keeping those elements in a vector format to ensure the edges stay crisp.
Resolving the Resolution Issue
In the world of textile printing, we live by the “Garbage In, Garbage Out” principle. If the source file lacks detail, no amount of modern machinery can invent that detail during production. You can easily check if your logo is ready by zooming in on your screen to 300% or 400%. If you see “stairs” or fuzzy edges on the lines, the resolution is too low. For designs that feature ultra-fine lines or microscopic text, I often suggest impression par transfert thermique as the best path forward. This method handles the tiny details that might get lost in a standard weave or heavy embroidery.
The CMYK Challenge in Textile Manufacturing
Color matching is another hurdle that catches people off guard. Your computer screen displays colors using light (RGB), but our printers use ink (CMYK). This shift can sometimes make vibrant neons look a bit muted on a polyester base. I help brands navigate this by calibrating their digital palettes specifically for textiles before the first run. For high-volume OEM orders, I always insist on physical proofs. Seeing a real sample in your hands is the only way to guarantee that the “forest green” on your monitor matches the “forest green” on your patch. It’s a small extra step that ensures consistent global results for your brand, whether you’re ordering 500 units or 50,000.
I’ve found that taking twenty minutes to double-check your color profiles and resolution saves weeks of headache later. It keeps the production line moving fast and ensures your investment looks professional from day one. When you get the file right, the rest of the process feels light and manageable, just as it should be.
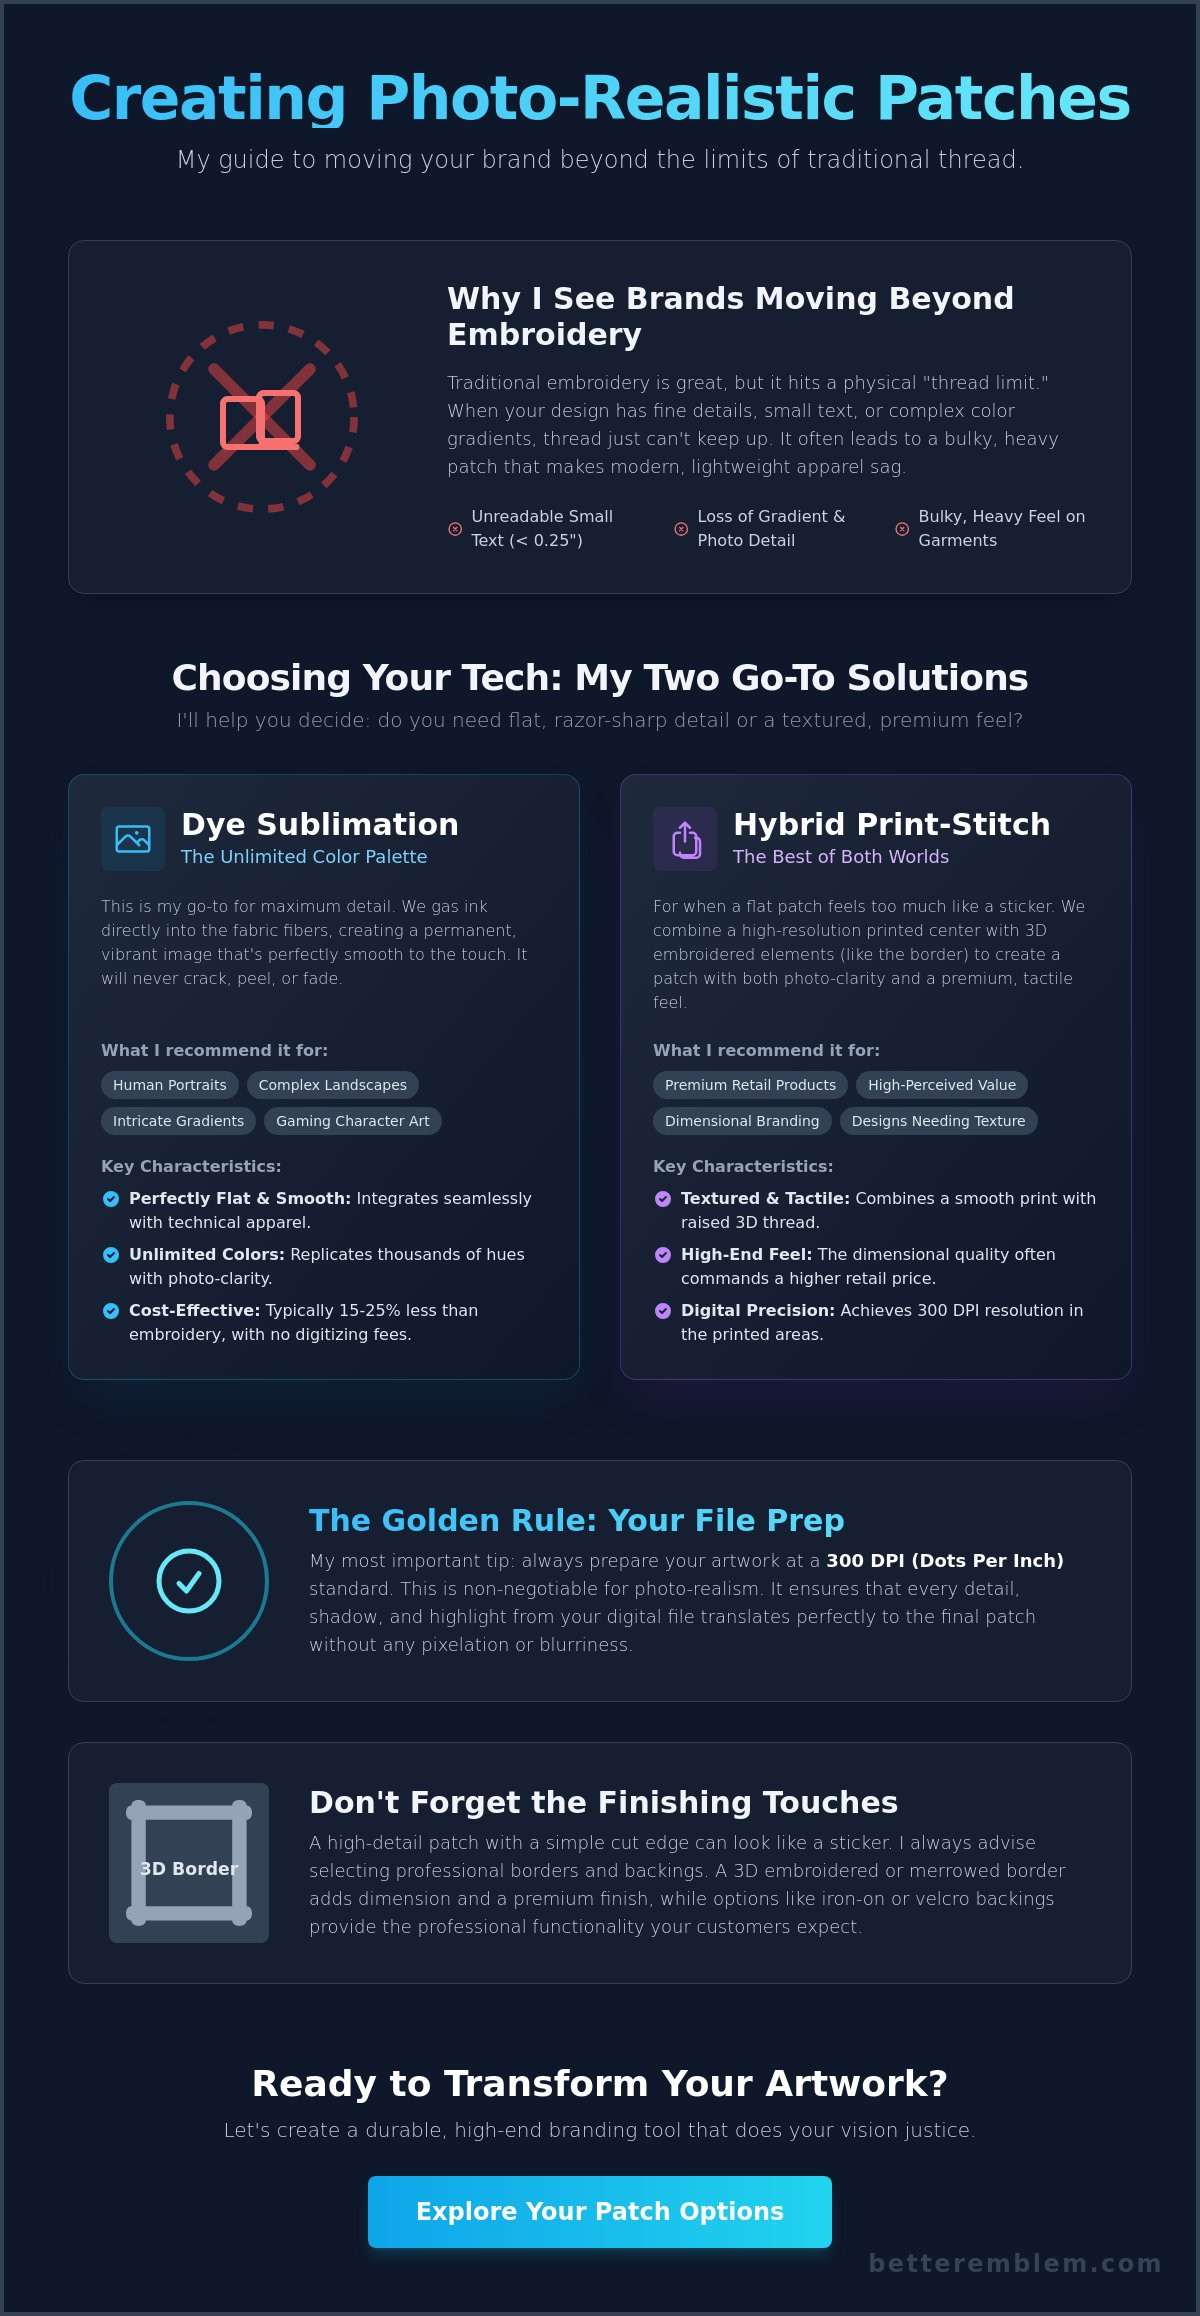
Professional Finishing: Borders and Backings for Photo Quality
I’ve seen it happen too often. A brand spends weeks perfecting a high-resolution design, but the final product looks like a cheap sticker because they skipped the professional border. When you are creating photo realistic patches, the finishing details are what bridge the gap between a promotional giveaway and a premium retail product. Your choice of border and backing doesn’t just affect how the patch looks; it dictates how it performs on the garment and how your customers perceive its value. I always tell my clients to think of the border as the frame for their artwork. Without it, the transition from patch to fabric can feel abrupt and unfinished.
Border Selection: Merrow vs. Satin Stitch
I usually recommend a Merrowed border for that classic, wrapped edge. It gives the patch a rugged, traditional feel that people associate with high-quality patchs personnalisés. It is the gold standard for circles, squares, and simple shields. However, Merrow machines have physical limits. They use a large needle that can’t navigate sharp interior angles or complex custom shapes. If your design has an intricate silhouette, a laser-cut edge with a satin stitch border is the better move. This gives you a clean, modern finish that follows every curve of your artwork perfectly.
Weight is another huge factor that many designers overlook. If you are applying these patches to thin performance tees or lightweight windbreakers, a heavy Merrow border might cause the fabric to sag or pucker. In these cases, I suggest a slim satin stitch or even a simple heat-cut edge. This keeps the profile low and ensures the garment remains comfortable for the wearer. It’s all about matching the border to the weight of the substrate to maintain that high-end retail look.
Backing Options for Global Distribution
Choosing the right backing is about understanding your distribution model. If you are selling at retail, iron-on (heat seal) backings are the industry standard. They allow the customer to apply the patch at home with a simple heat press or iron, making the product accessible to everyone. For tactical brands or companies using modular gear, hook-and-loop (Velcro) is the only way to go. It allows for quick swaps and high durability in the field, which is why it’s a staple for uniform programs. If you only need the patch for a weekend event or a trade show, a simple adhesive backing works great for temporary placement on clothing or bags.
The right finish makes the difference between a patch that gets ignored and one that stays on a jacket for years. If you’re ready to start your next high-volume run, you can explore our professional finishing options to see these borders in action. My goal is to make sure your photo-realistic artwork gets the frame it deserves without any manufacturing hurdles.
Scaling Your Vision: Why OEM Manufacturing Matters
I’ve helped brands move from 100 units to 100,000 without losing a single pixel of detail. It’s a journey I’ve taken many times. When you scale, the biggest risk is inconsistency. A small local shop might handle a dozen patches well, but they often crumble under the weight of a massive order. The OEM advantage is all about building a system that guarantees the same high-quality result for the first patch and the ten-thousandth patch. Operating from our Taiwan headquarters gives us a unique edge in managing these high-volume runs while keeping a close eye on global logistics and shipping timelines.
Sustainability is also a major focus for us in 2026. We’ve integrated eco-friendly inks and recycled substrates into our workflow to meet modern environmental standards. This ensures your brand stays relevant and responsible without sacrificing the vibrant colors required for creating photo realistic patches. I believe that professional branding shouldn’t come at the cost of the environment, so we use materials that are tested for harmful substances while maintaining extreme durability.
Consistency in High-Volume Production
Automated digital printing plays a huge role in our ability to maintain color accuracy across large runs. It removes the human error factor from the initial print phase. But I’ll be honest with you: manual QC is still the most important part of my manufacturing process. My team inspects every batch to ensure the borders are clean and the backings are secure. This hands-on approach is how we manage lead times for international product launches. We know your deadline isn’t a suggestion; it’s a commitment that we take seriously every single day.
Partnering for Creative Success
I act as an expert facilitator for your brand’s design team. I’ve found that most branding problems have simple solutions if you have the right technical partner. Whether you need the rugged look of a Merrowed border or the technical precision found in patchs personnalisés spécialisés, I can guide you through the selection process. I strip away the complexity of manufacturing so you can focus on the creative side of your business. Ready to start? Let’s take your branding to the next level and turn your high-detail artwork into a stunning, physical reality.
Elevate Your Brand with Precision Manufacturing
I’ve shown you that the days of settling for bulky, unreadable thread-work are over. You now have the tools to achieve digital precision on a physical substrate. By sticking to the 300 DPI rule and choosing between sublimation or hybrid techniques, you ensure your brand looks professional at every scale. Creating photo realistic patches doesn’t have to be a complex hurdle when you have a partner who values efficiency and reliability.
Since 1978, we’ve focused on expert OEM manufacturing that bridges the gap between complex art and durable textiles. We handle the global logistics from Taiwan and North America so you can focus on your next big launch. Our use of eco-friendly inks and premium substrates ensures your investment is high-quality and responsible. Ready to see your design in photorealistic detail? Get a wholesale quote today!
Your vision is ready for the world. I am excited to help you bring it to life with the speed and clarity your brand deserves. Let’s make your next project a success.
Questions fréquemment posées
Can you really turn a photograph into a patch?
Yes, I can transform almost any high-resolution photograph into a durable patch. Modern sublimation techniques allow us to gas ink directly into the fabric, capturing every shadow and detail that traditional embroidery would miss. This process ensures your brand’s complex imagery remains crisp and recognizable on any garment. It’s the most efficient way to maintain the soul of your original artwork without simplifying the design.
What is the difference between a printed patch and a sublimated patch?
Sublimation is the specific technology I use for the majority of my high-detail printed patches. While some basic printing methods simply lay ink on top of the fabric, sublimation infuses the dye into the polyester fibers. This makes the patch significantly more durable because the image won’t crack or peel over time. It is the industry gold standard for achieving a smooth, high-definition finish that lasts.
Will the colors on my photo patch fade over time?
No, your colors will remain vibrant even after multiple washes and heavy use. Because the dye is fused into the material at a molecular level, it resists fading from UV exposure and environmental wear. I highly recommend these for outdoor gear and tactical workwear where long-term durability is just as important as the initial visual impact of the brand’s design.
What is the minimum order quantity for photorealistic OEM patches?
My standard minimum order quantity for most custom patches ranges from 50 to 100 pieces. For specific hybrid designs that combine printing with stitching, we can sometimes start with as few as 12 units. This flexibility allows you to test a new product line or launch a limited edition run without the stress of managing massive inventory levels right away.
Do I need to be a professional designer to order photo patches?
You don’t need to be a design expert, but you do need to provide a high-quality source file. As long as you have a 300 DPI image at the actual size you want the patch to be, my team can handle the technical manufacturing setup. I act as your facilitator to ensure the transition from your digital photo to a physical product is completely seamless.
Can I combine photorealism with 3D embroidery?
Yes, this is a popular choice known as a hybrid patch. I can take your photographic center and surround it with a textured 3D embroidery border or add stitched accents for extra physical dimension. It is a fantastic way of creating photo realistic patches that have the premium feel of traditional craft while maintaining the total precision of modern digital technology.
How long does it take to manufacture a bulk order of photo patches?
My standard production turnaround time is typically 7 to 14 business days once you have approved the final sample. We manage the entire process and global logistics from our headquarters to ensure your bulk order arrives on time for your launch. This timeline is designed to be as fast as possible while maintaining the strict quality control standards your brand requires.
What file format should I send for the best results?
I recommend sending a 300 DPI raster file like a TIFF or a high-quality JPEG for any photographic elements. If your design includes text or sharp borders, a vector file like an AI or EPS is even better for those specific sections. Providing the right format from the start helps me keep the production moving quickly and prevents any issues with blurriness or pixelation.